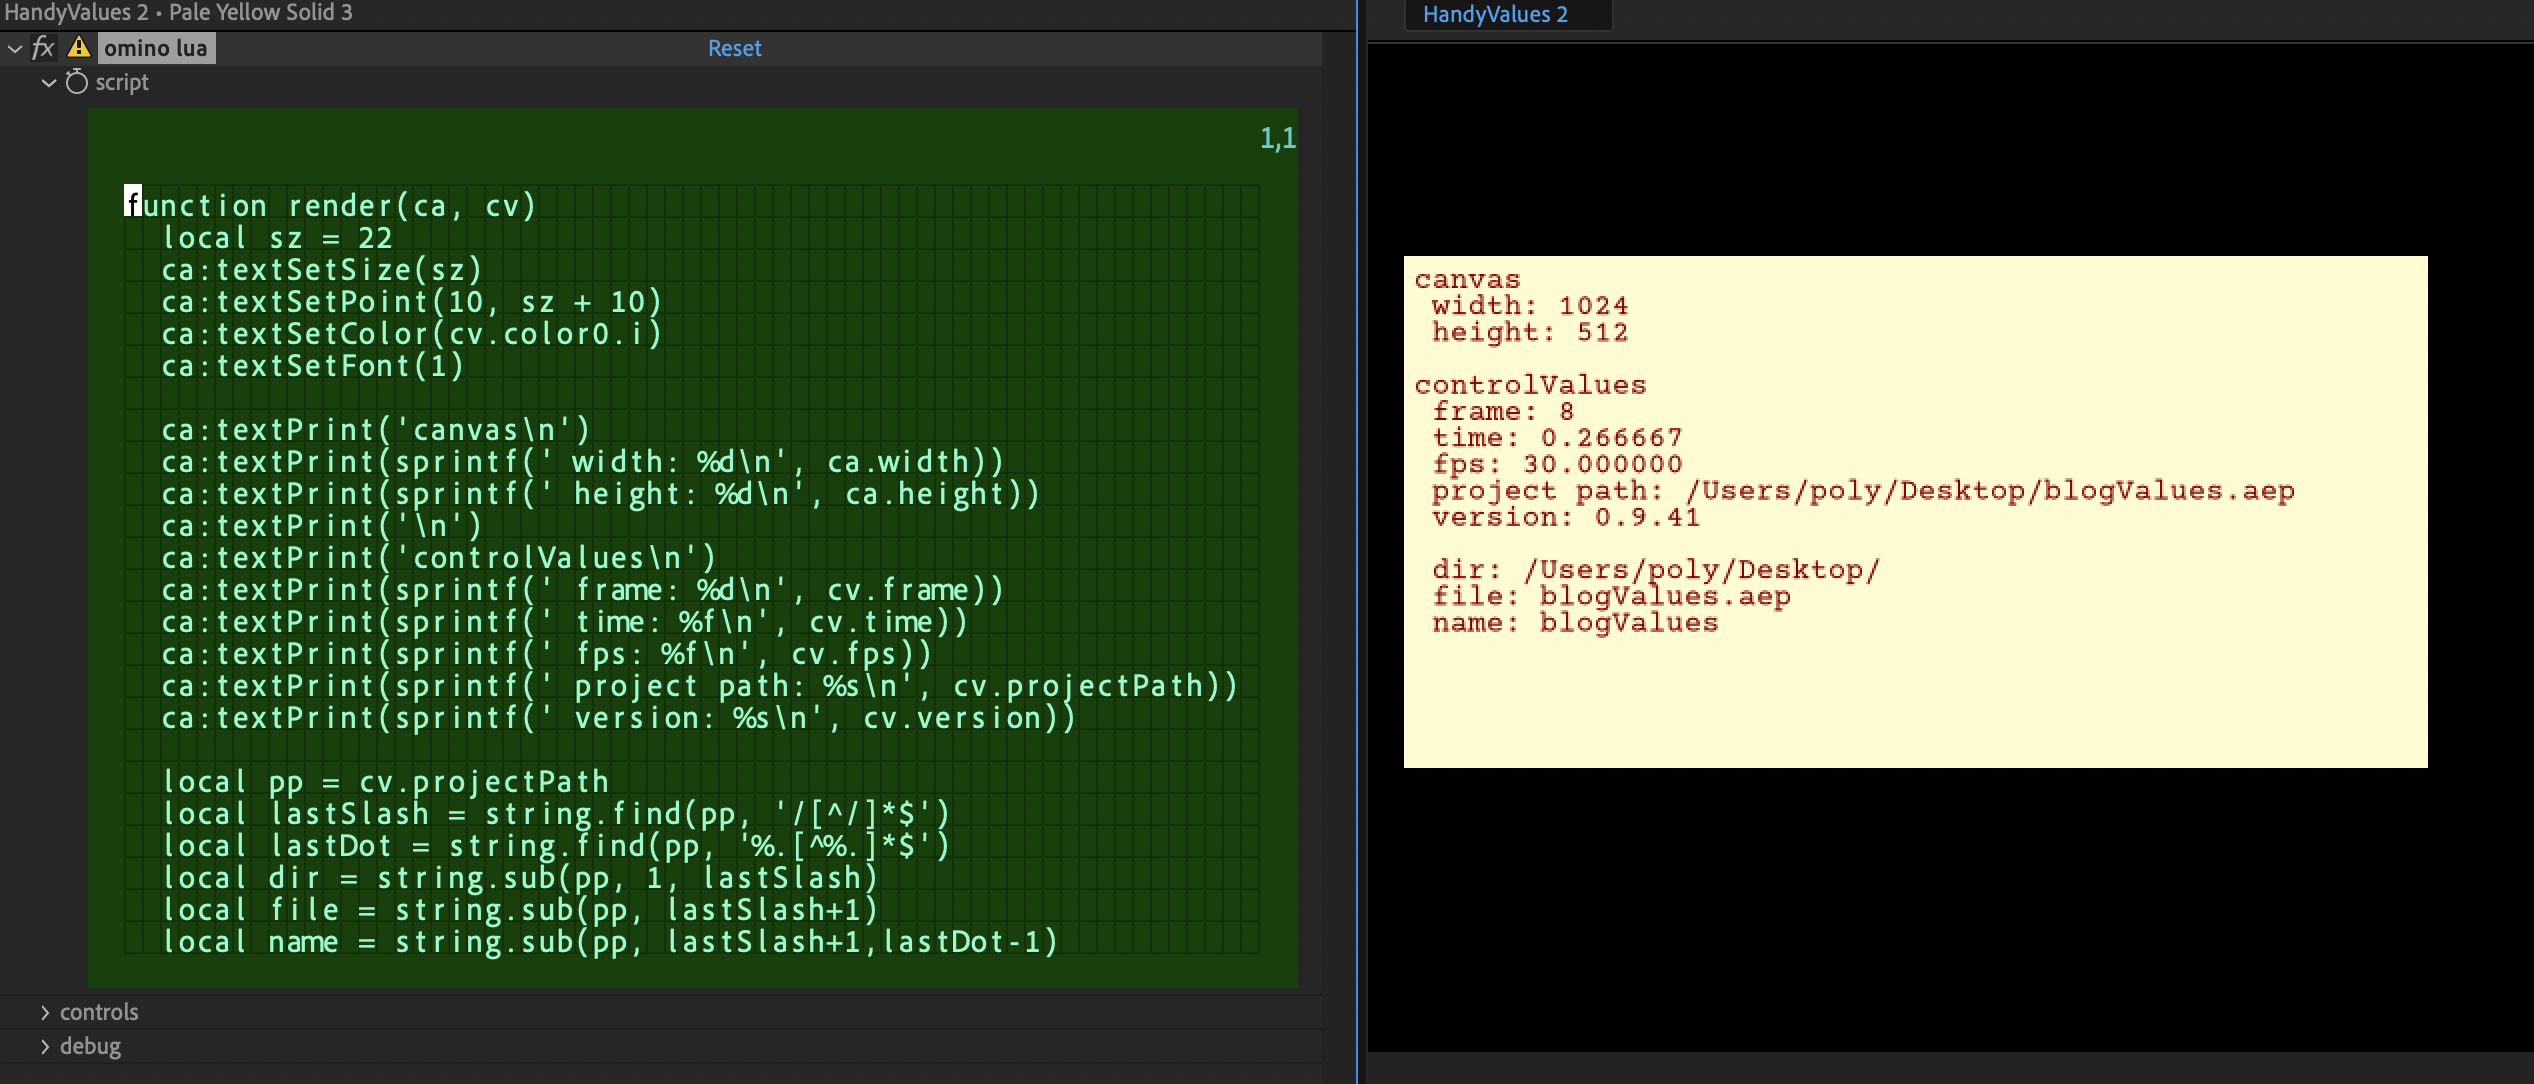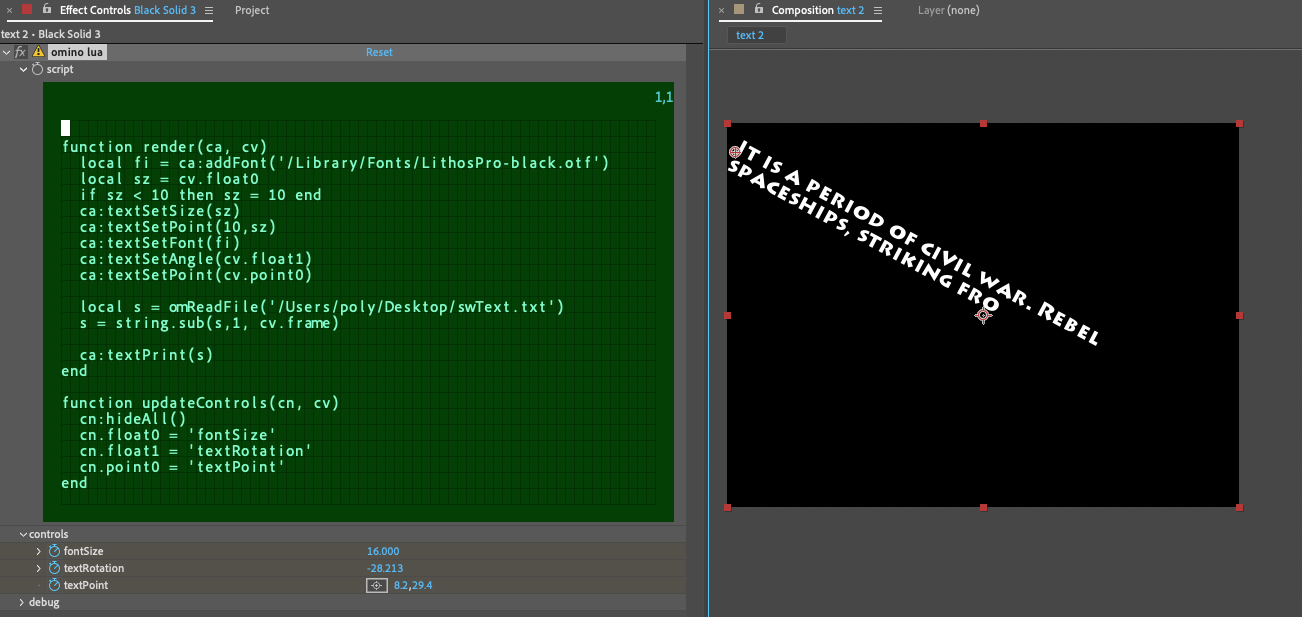
This omino lua script shows two features. First, how to load a font file with ca:addFont(path). If successful, returns an integer zero or greater which is the index to use in ca:textSetFont(). If unsuccessful, -1.
Second, it shows how to read a text file into a lua string variable. The script here prints the beginning of the string, increasing by frame number.
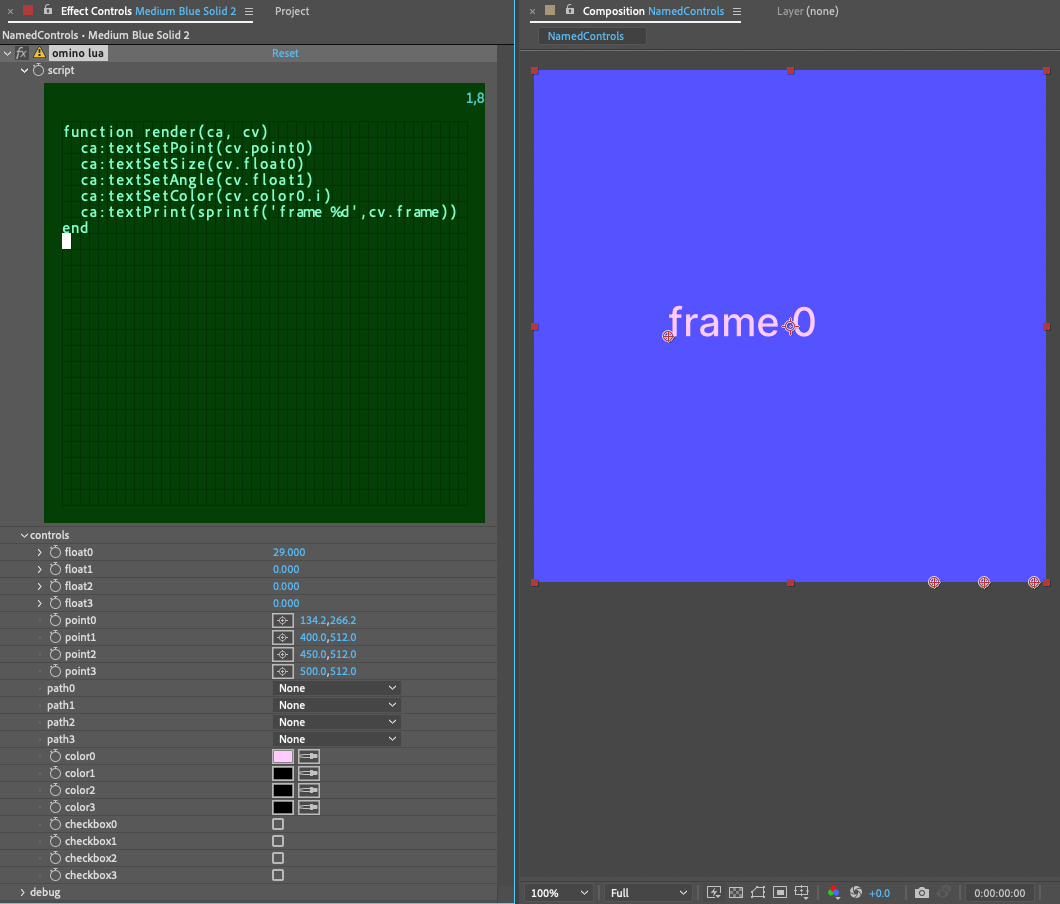
The rendered video below shows the parameters animated. In the case of text size, it doesn’t animate very smoothly! (The text renderer snaps to pixels for better readability.) So if you want an animated text size, better to resize the whole layer.
function render(ca, cv)
local fi = ca:addFont('/Library/Fonts/LithosPro-black.otf')
local sz = cv.float0
if sz < 10 then sz = 10 end
ca:textSetSize(sz)
ca:textSetPoint(10,sz)
ca:textSetFont(fi)
ca:textSetAngle(cv.float1)
ca:textSetPoint(cv.point0)
local s = omReadFile('/Users/poly/Desktop/swText.txt')
s = string.sub(s,1, cv.frame)
ca:textPrint(s)
end
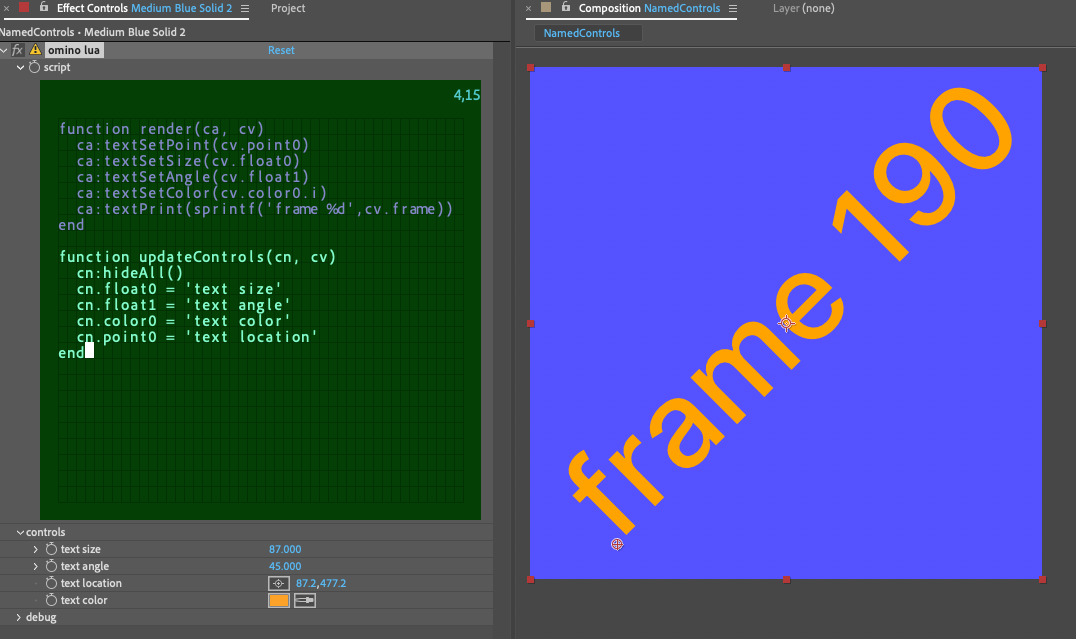
function updateControls(cn, cv)
cn:hideAll()
cn.float0 = 'fontSize'
cn.float1 = 'textRotation'
cn.point0 = 'textPoint'
end